Witnessing the Northern Lights, or aurora borealis, is a breathtaking experience. This natural phenomenon, typically visible in the far northern regions, paints the sky with vibrant colors as a result of solar storms and the interaction of charged particles with atmospheric gases. This weekend, an extraordinary geomagnetic storm offers a rare opportunity for many, including those in the United States, to observe the Northern Lights.

Here’s a step-by-step guide to photographing the Northern Lights with your Google Pixel or other Android devices:
Prepare Your Environment: Find a location with dark skies and minimal light pollution. A tripod is essential to stabilize your phone for long-exposure photography.
Setting Up Your Google Pixel:
– Mount your phone on the tripod and open the camera app.
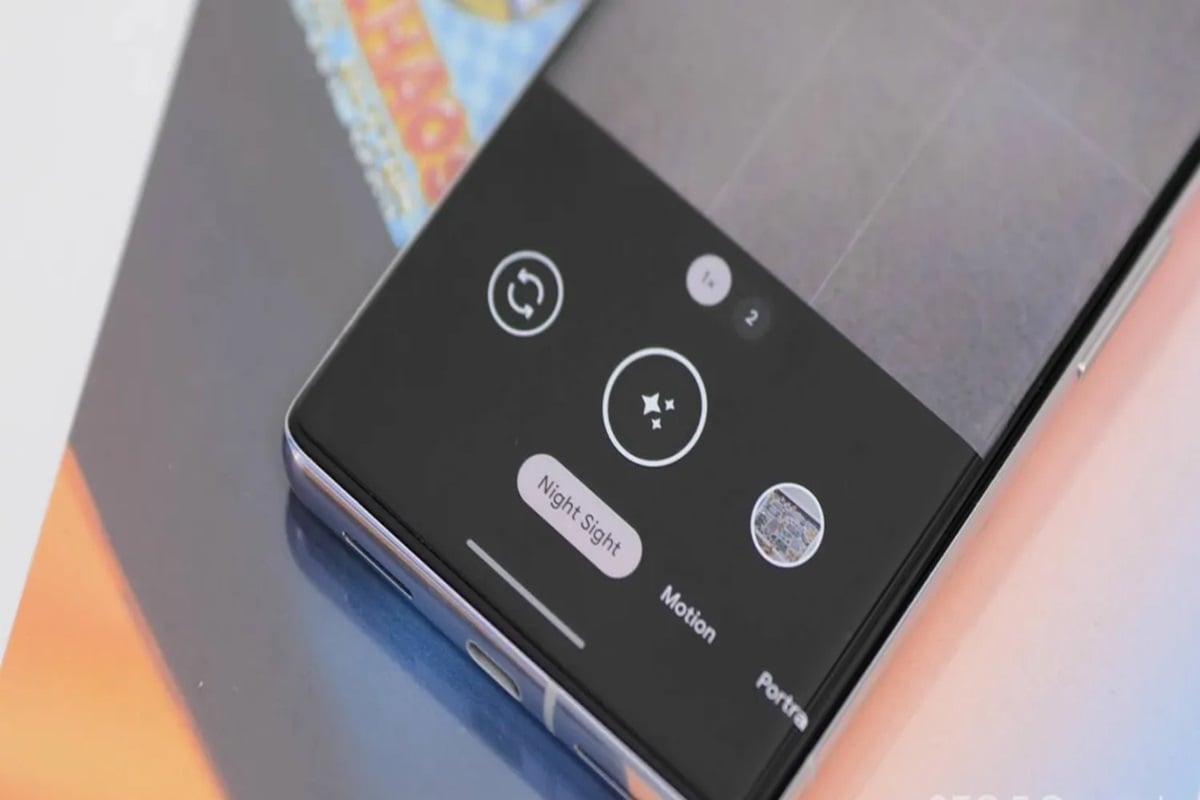
– Switch to “Night Sight” mode. If the aurora is visible to the naked eye, this mode may suffice.
– For astrophotography, ensure the phone is steady. A star icon will appear on the shutter button after a few seconds of stillness. Tap it to begin a 4-minute capture process, resulting in a still photo and a time-lapse.
Using Other Android Phones:
– Standard night modes on phones like Samsung Galaxy can capture the Northern Lights if they’re visible without assistance.
– For fainter auroras, use manual shooting modes with long exposure settings. In “Night” mode, select “Max” exposure, or in “Pro” mode, set the “Speed” to 5-6 seconds.
This guide aims to help you immortalize the fleeting beauty of the Northern Lights through photography, ensuring that you can relive the magic whenever you desire.
Leave a Reply