Close Menu
  • Home
  • Entertainment
  • Cybercrime
  • Startup
  • Lifestyle
  • Gadgets
  • YouTube
  • More
    • How to Make Money
    • Artificial intelligence (AI)
    • Cryptocurrency
    • Future Technology
    • Sociel Media
    • Tech Gadgets
    • Tips and Tricks
Facebook X (Twitter) Instagram
Virtual Content Has No Border
  • Home
  • Entertainment
  • Cybercrime
  • Startup
  • Lifestyle
  • Gadgets
  • YouTube
  • More
    • How to Make Money
    • Artificial intelligence (AI)
    • Cryptocurrency
    • Future Technology
    • Sociel Media
    • Tech Gadgets
    • Tips and Tricks
Virtual Content Has No Border
Home ยป Enhancing Security in Windows 11: A Guide to Enabling LSA Protection
Tips and Tricks

Enhancing Security in Windows 11: A Guide to Enabling LSA Protection

January 9, 20242 Mins Read

Microsoft’s Windows operating system is widely used globally, making it a common target for security threats. To enhance security, Microsoft has incorporated various features into the operating system, and one such feature is the Local Security Authority (LSA). LSA plays a crucial role in verifying a user’s identity during the sign-in process on a local computer, managing password changes, login attempts, and performing other authentication and authorization tasks in Windows.

LSA

Securing the Local Security Authority subsystem adds an extra layer of protection to your system and accounts against potential threats. This guide will walk you through the simple steps to enable Local Security Authority Protection (LSA Protection) using the Settings app in a Windows 11-powered computer.

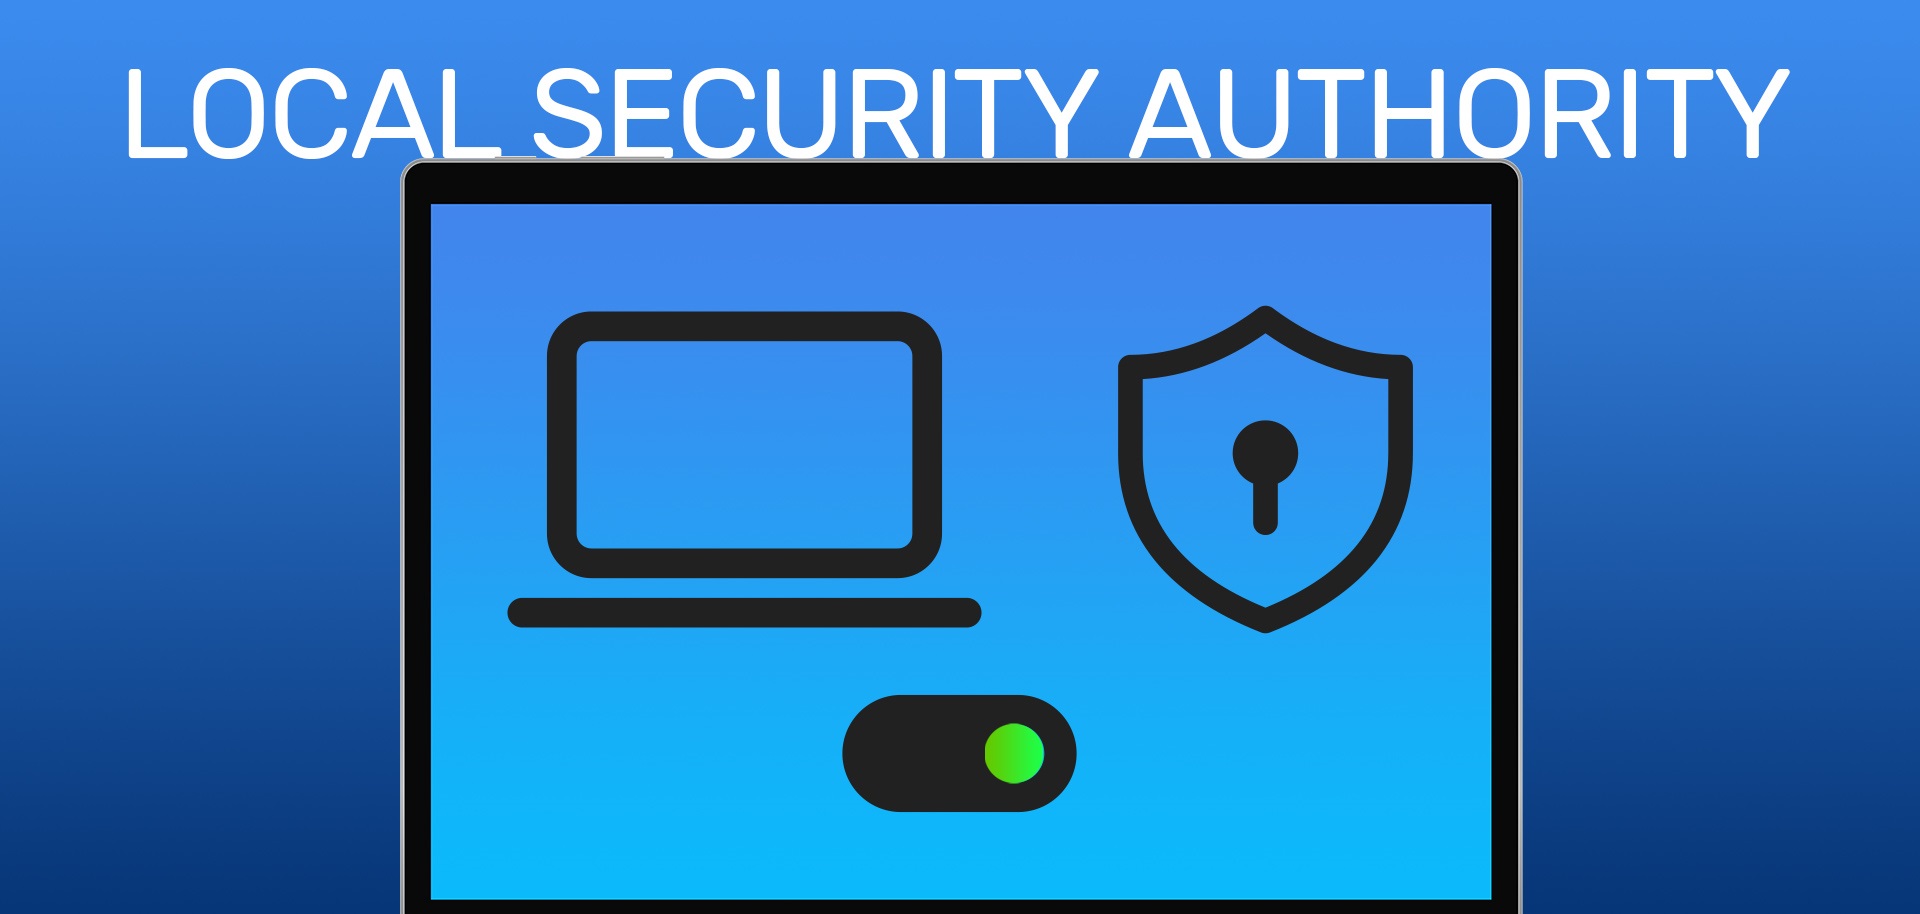
How to Easily Enable LSA Protection in Windows 11

Step 1: Open the Windows Security application on your computer. You can do this by accessing the Start Menu, searching for the application, and clicking on it in the search results.

Step 2: Once the app is open, navigate to the “Device Security” tab.

Step 3: In the “Device Security” tab, locate and click on “Core isolation details” under the Core Isolation section.

Step 4: Turn on the toggle switch for the “Local Security Authority Protection” option.

Following these easy steps on your Windows 11 computer enables Local Security Authority Protection (LSA Protection). Keep in mind that you will need to restart your computer for the system to activate this feature. Securing your system with LSA Protection adds an additional security layer to your Windows 11 operating system, contributing to a safer computing experience.

For All Virtual Content Follow BNB's Google News channel.


11: and enabling enhancing guide LSA protection security tips tricks Windows
Share. Facebook Tumblr Twitter Email Reddit Pinterest Telegram WhatsApp LinkedIn

Related Posts

vivo V50 price and review

vivo V50 price and review

February 18, 2025
Samsung Galaxy F06 5G prce and review

Samsung Galaxy F06 5G prce and review

February 18, 2025
vivo Y200 4G price and review

vivo Y200 4G price and review

February 8, 2025
Latest Posts
Xiaomi Redmi 13x

Xiaomi Redmi 13x

April 7, 2025
Xiaomi Poco F7 Pro

Xiaomi Poco F7 Pro

April 7, 2025
Xiaomi Poco F7 Ultra

Xiaomi Poco F7 Ultra

April 7, 2025
Samsung Galaxy Tab S10 FE

Samsung Galaxy Tab S10 FE

April 3, 2025

Samsung Galaxy Tab S10 FE+

April 3, 2025
About us | DMCA | Terms | Privacy Policy | Contact

© 2025 BelieveNoBorder. All Rights Reserved

Type above and press Enter to search. Press Esc to cancel.